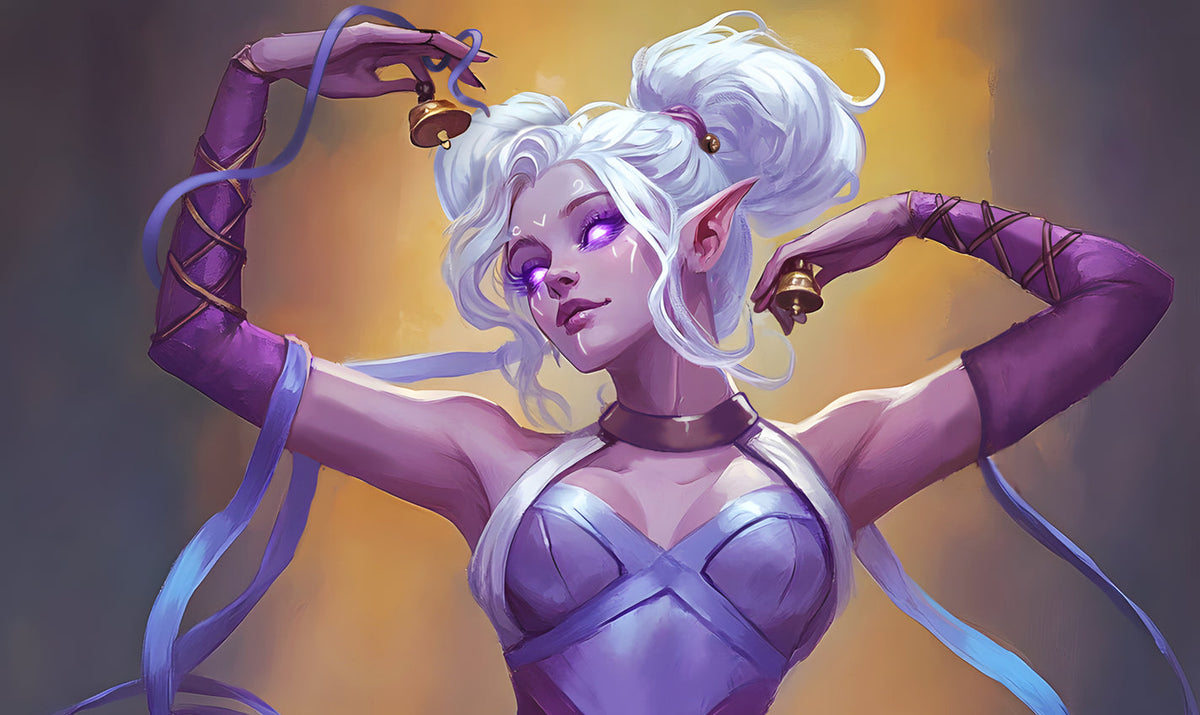
Describe the Details That Make Your Character Recognizable
Keep the face, markings and essential accessories clear without turning your commission brief into a technical manual.
 Jan
4 min read
Jan
4 min read

Describe the features that need to remain recognizable before explaining the mood of the picture. Give the artist clear locations, shapes and colors, then mark the few details you most want to check in the first preview.
“A mysterious elf” leaves a lot open. “A pointed-eared traveler with shoulder-length black hair, blue eyes and a narrow dark mark beneath the right eye” gives the conversation a visible starting point.
You can still leave room for the artist’s judgment. The useful part is knowing which traits belong to the character and which choices are flexible for this portrait.
Write a short identity record
Start with appearance that stays the same across pictures. Include hair, eyes, skin color, build and any visible marks. Describe the character’s age as you want it depicted, rather than relying on a fantasy lifespan to explain how they look.
“A 300-year-old elf” does not settle whether the face should look youthful, lined or somewhere between. You can write “An adult face with a few lines around the eyes” without attaching a personality judgment to those lines.

That distinction matters when the same character appears in a later commission. A new outfit or setting can change while the identifying features stay agreed.
Replace vague adjectives with visible details
| Vague direction | A clearer fictional example |
|---|---|
| “Unusual eyes” | “The character’s left iris is green and the right iris is brown.” |
| “A cool scar” | “A thin pale line crosses the left eyebrow. Keep the eye itself unchanged.” |
| “Messy hair” | “Short curls with a loose fringe falling toward the forehead.” |
| “A strong face” | “A broad jaw and full cheeks, with a small rounded nose.” |
These descriptions are examples you can adapt. They are not instructions to give every character the same set of features. Choose words that describe what you actually want to see.
Skip the cause of a mark if it does not change the requested appearance. A brief story can explain why it matters to you, but the artist still needs its location and visible shape.
Use the character’s left and right
Write “the character’s left eyebrow” instead of “the scar on the left.” If you attach a reference, add a label so nobody has to guess whether you mean the viewer’s left.
Artist Crazdude’s reference-sheet guidance also calls out marking asymmetry explicitly. A note such as “only on this side” makes an uneven detail easier to carry into another angle.
Decide which details need to survive the crop
A half-body portrait has little reason to establish an ankle mark that stays outside the image. A full-body portrait can include more clothing and equipment, but tiny facial details occupy less space.
Choose the format around the things you need visible. FramedFantasy offers half-body, thigh-up and full-body portraits. Ask whether your priority detail will fit the proposed pose and framing.

For an avatar, open the reference at a small size and check what you can still identify. This is a practical visibility check, not a guarantee that every small mark will read in the finished file.
Keep identity separate from this scene’s expression
The character can have a broad nose in every image while smiling in one and looking worried in another. Put the fixed face description in one place and the requested expression for this picture in another.
A fictional note could read “Keep the round glasses and short curls. For this portrait, show a restrained smile while they hold the map.” That avoids making a passing expression part of the permanent design.
You also do not need to attach a facial feature to a moral trait. Describe the appearance directly and let the chosen expression, posture and scene carry the intended feeling.
Review the preview against your priorities
Check the agreed essentials first. Are the mark’s side, hair length and key accessory correct? Then consider changes to expression or atmosphere through the provider’s actual feedback process.
Use the brief guide to keep these notes together. For horns, wings or a tail that needs its own placement reference, continue with the unusual-anatomy guide.
Once the recognizable details are clear, the portrait options can help you choose how much of the character belongs in the picture.